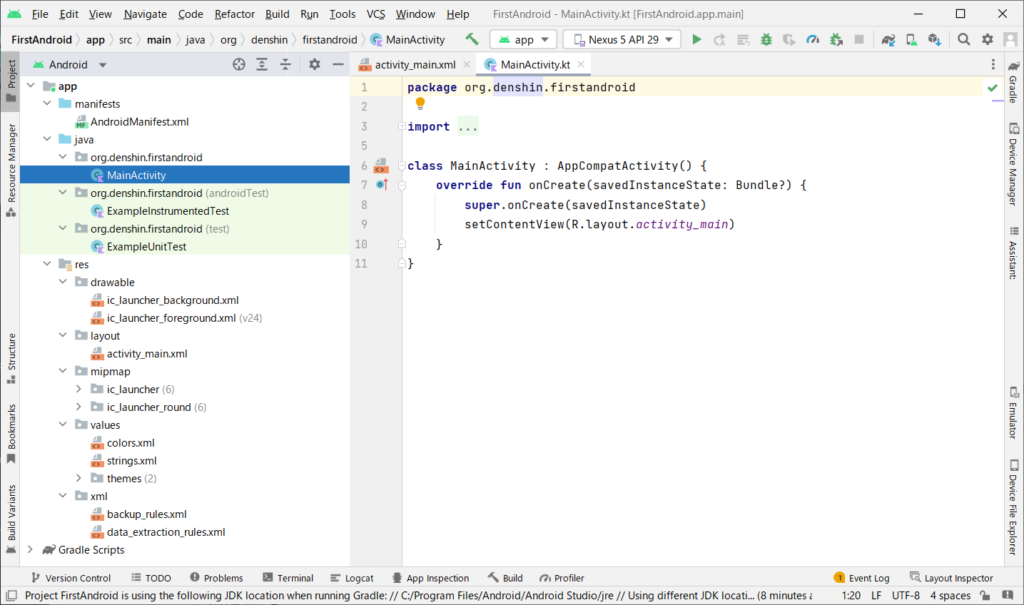
One application corresponds to one project in Android Studio.
Therefore, create the simplest project possible.
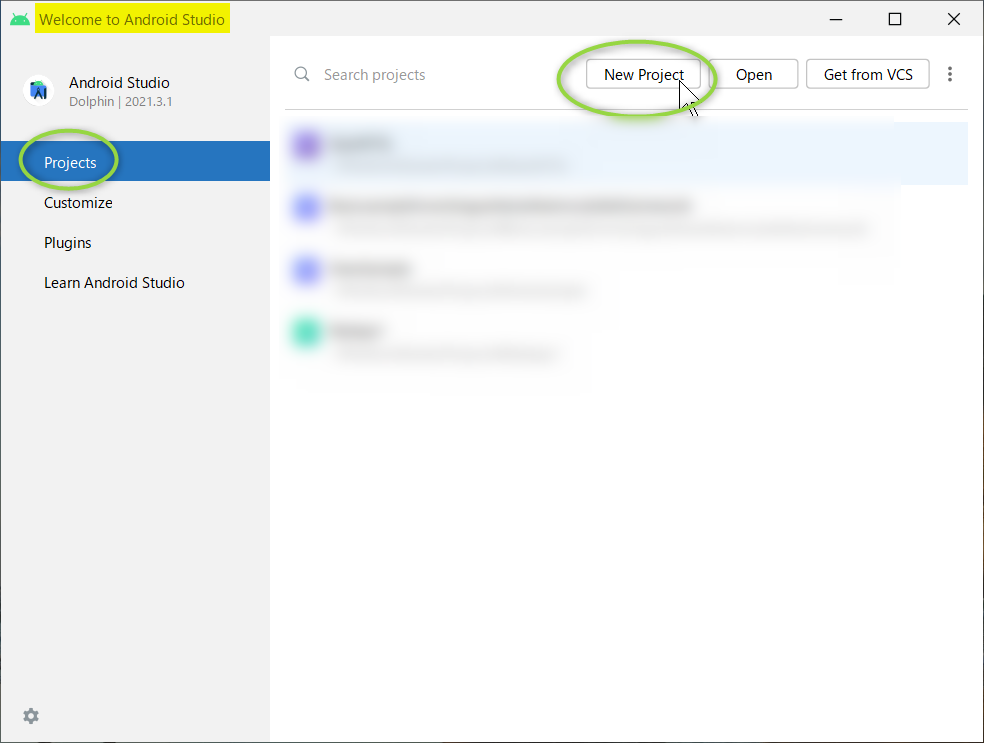
On the welcome page, specify Project and create a new project as shown in the figure below.
On the new project screen, select Empty Activity in Phones & Tablets on the left side of the screen and proceed to the next step.
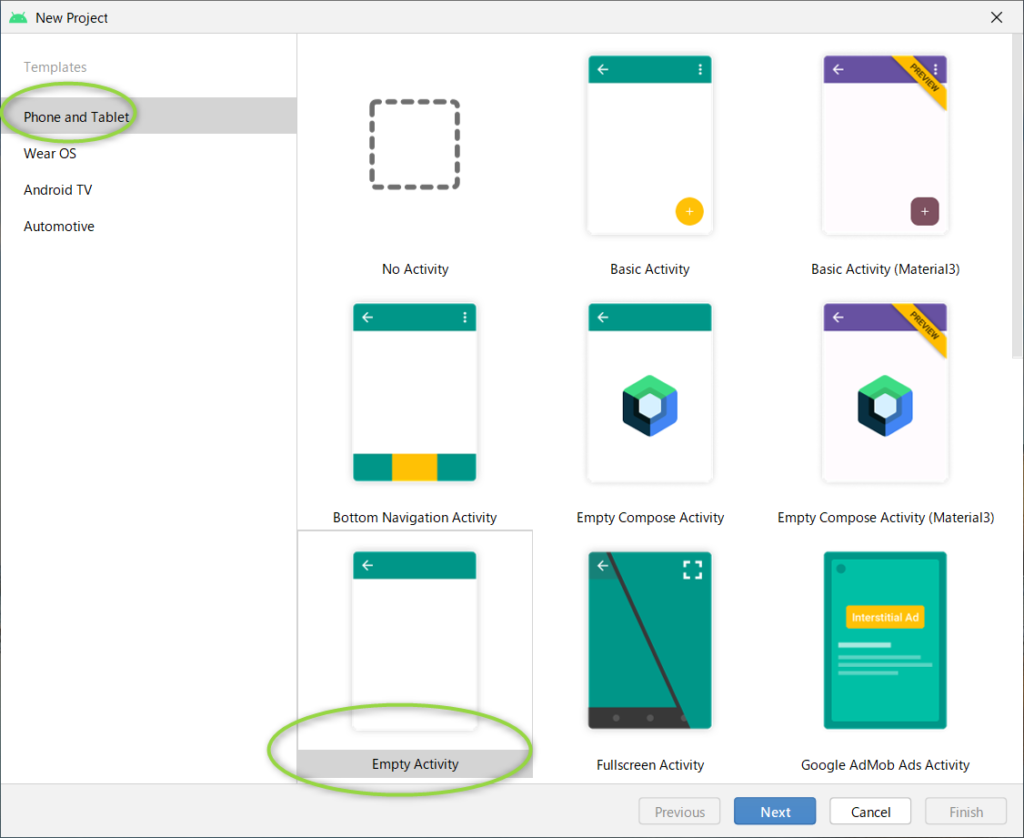
The Empty Activity specified here is an example with the least pre-written source code.
Therefore, you will need to add the necessary code each time.
Enter the appropriate information for your new project.
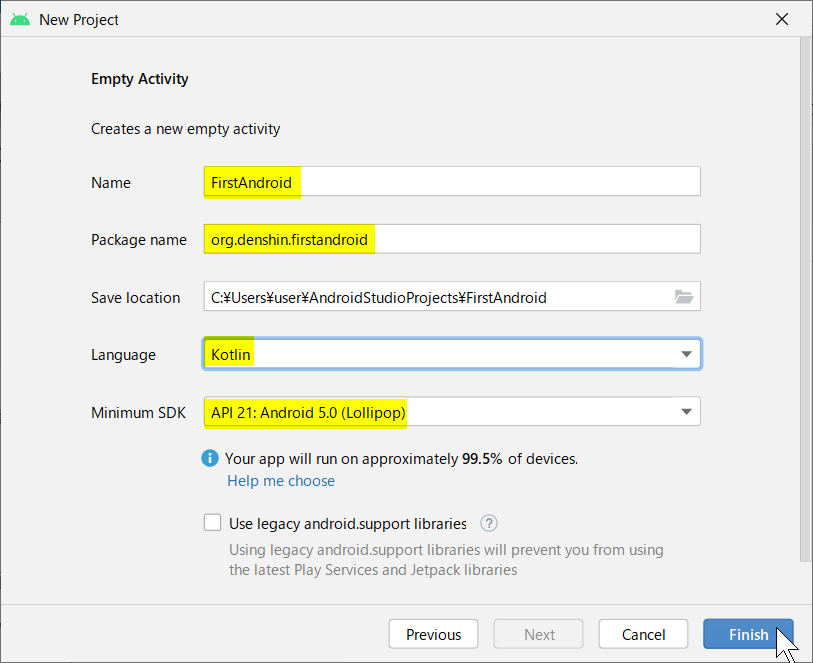
[ Name ]
This information is the project name. The final name of the application can be determined separately.
[ Package name ]
Reverse the domain name of the entity that develops this application and write the project name at the end.
[ Save location ]
This is the folder that stores the relevant project file.
It will be filled in automatically.
[ Language ]
Specify the name of the programming language to be developed with Android Studio.
Here, we choose Kotlin.
[ Minimum SDK ]
Choose the lowest API level that guarantees operation.
[ Use legacy android support libraries ]
Check only when using the old support library. Here, it is not checked and the old library is not used.
After confirming the input contents, click the Finish button.
It will take some time, but the project will be created as shown below.
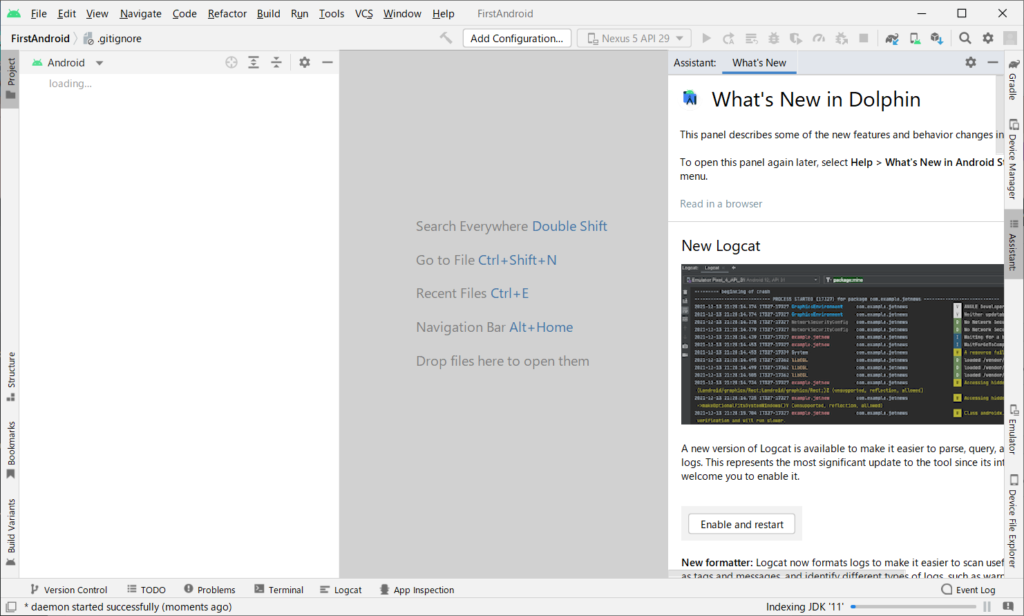
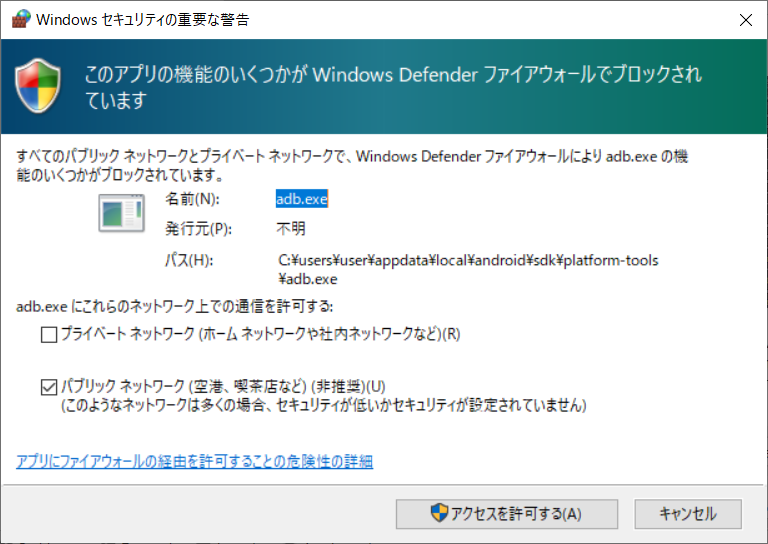
During the process, the Windows defender warning screen may appear.
During project creation, the device will download the necessary files via the network, so it must be in an unrestricted network environment.
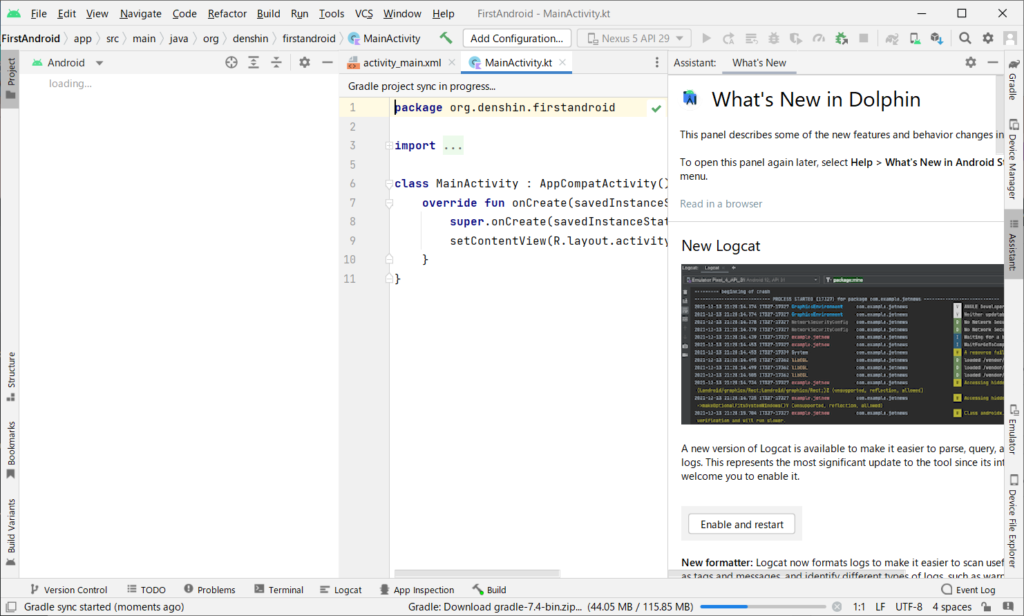
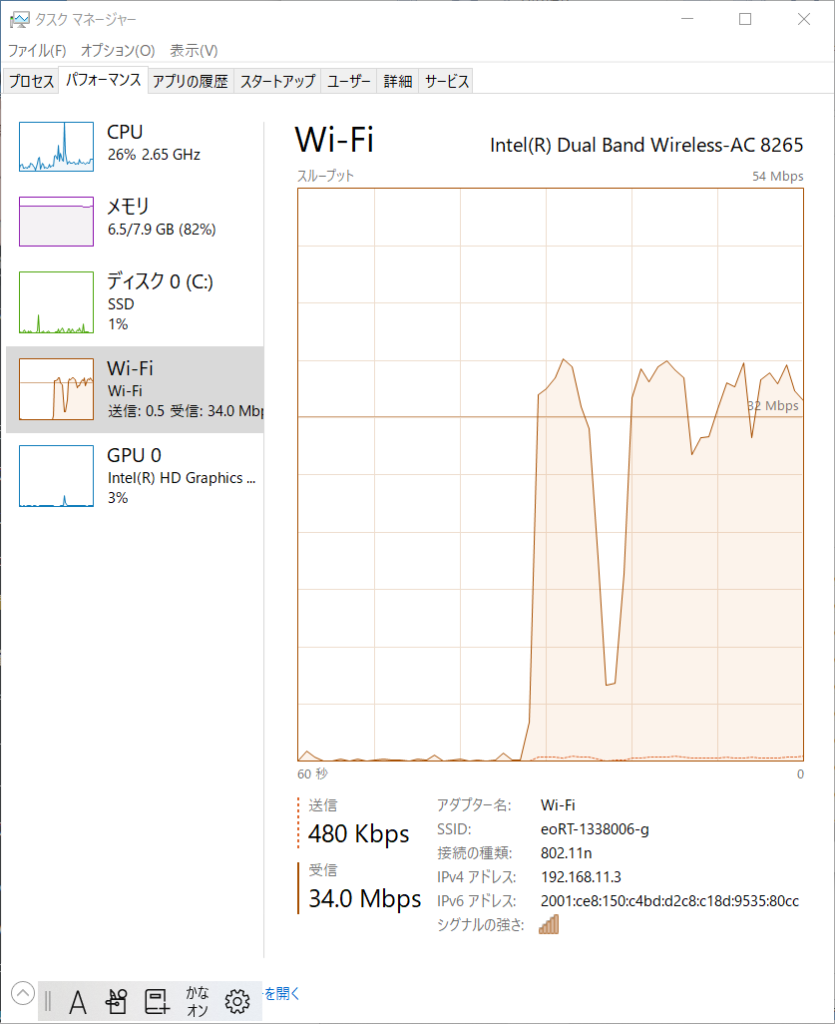
There is also a status bar at the bottom of the screen.
A status bar will guide you through the build process and it will take some time to complete.
![]()
![]()
Once the build is complete, the following screen will appear.
The Assistant contents are displayed on the right side of the screen. If it is not necessary, you can hide the contents by clicking [Assistant] on the far right.
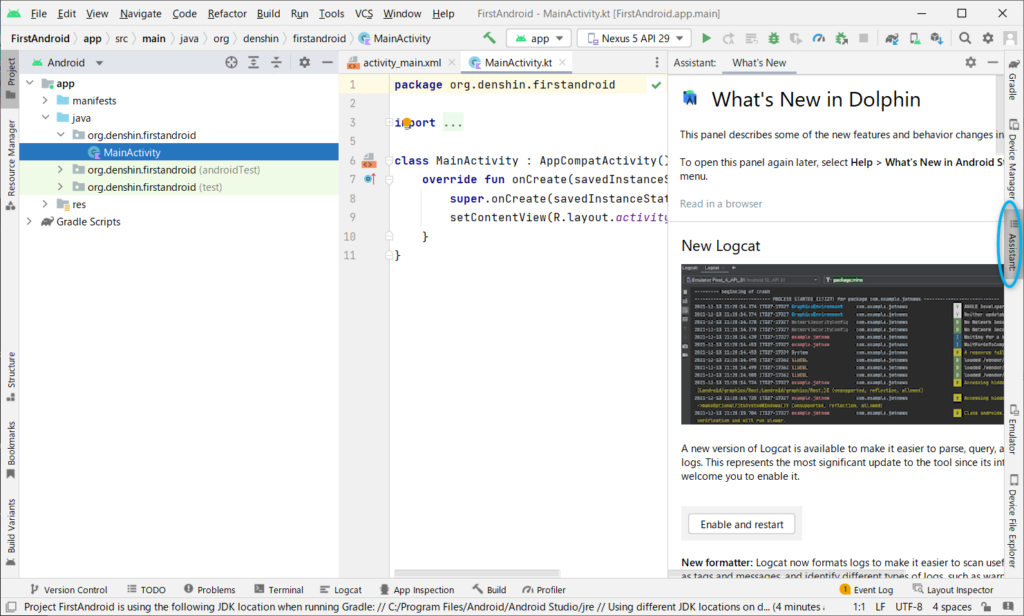
After the project is generated, the following screen will be displayed.
