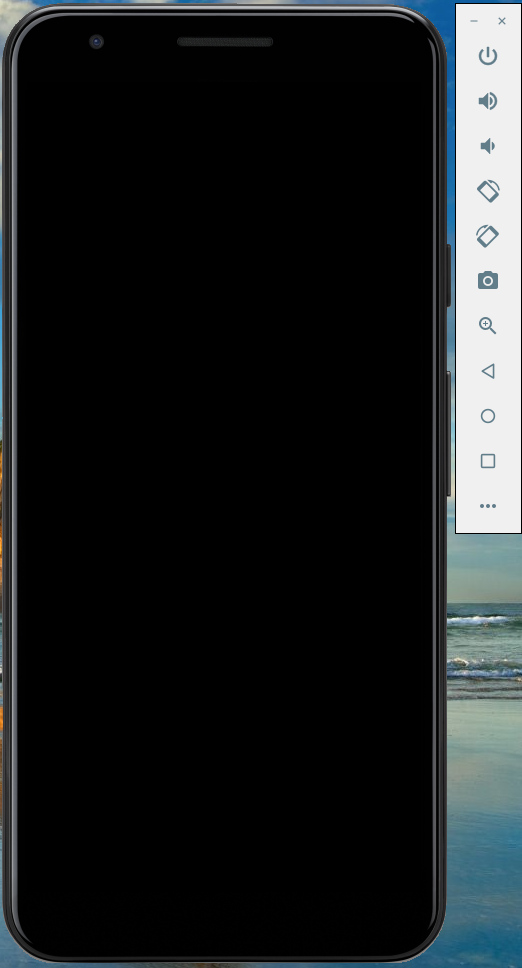
For the emulator, use the toolbar to turn off the power switch.
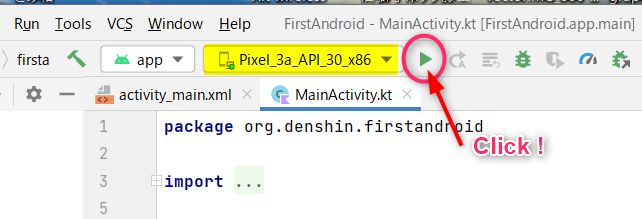
Select the AVD to reflect the execution results and start execution by clicking the run icon or by selecting [ Run ] -> [ Run ‘app’ ] displayed in the menu bar.
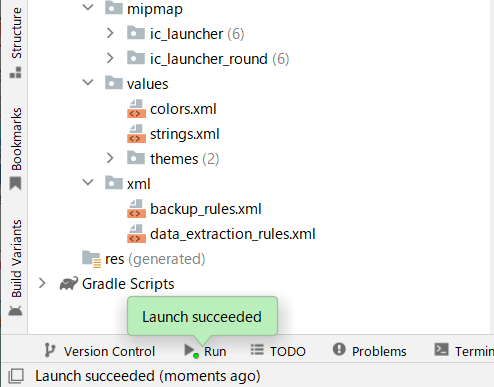
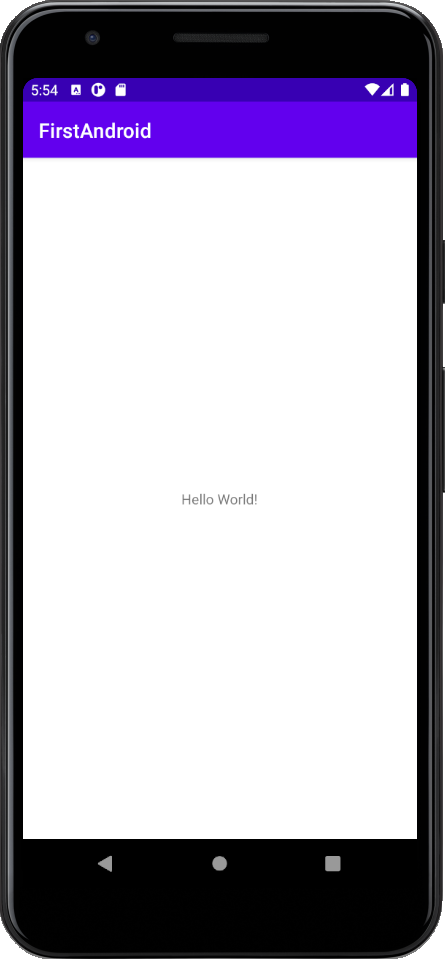
After a while, if there are no problems, the following message will appear at the bottom of the project window.
When you operate the power switch of the emulator tool, you can get the execution result.
Let’s prepare the emulator for the Japanese environment.
Click on the home icon located at the bottom of the emulator.
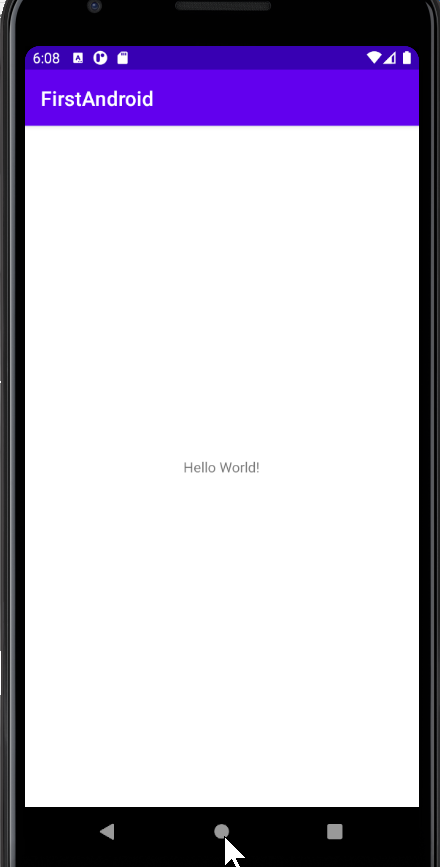
The home screen is in English environment.
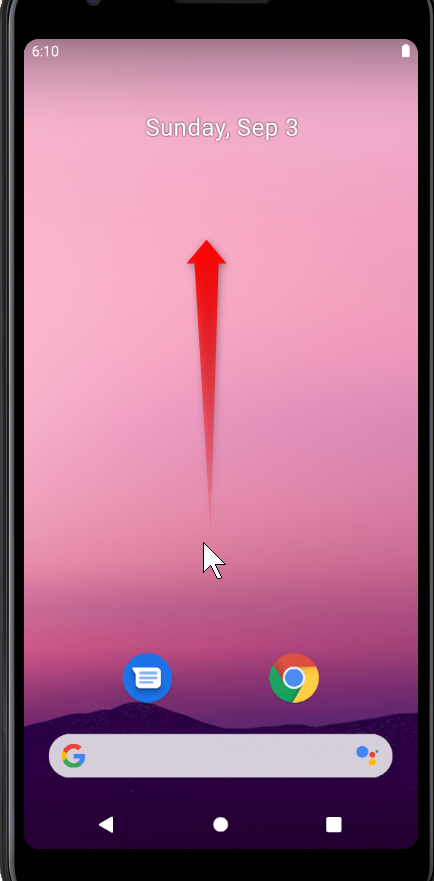
Once on the Home screen, swipe up on that screen.
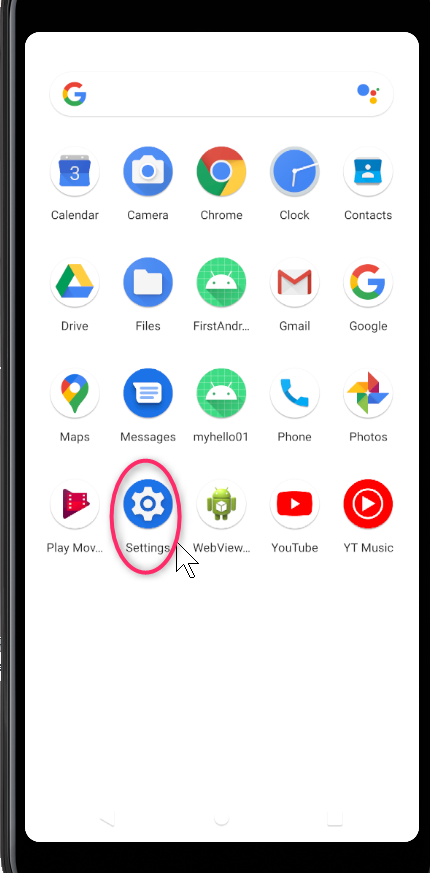
Operate the setting icon and change the language environment to Japanese.
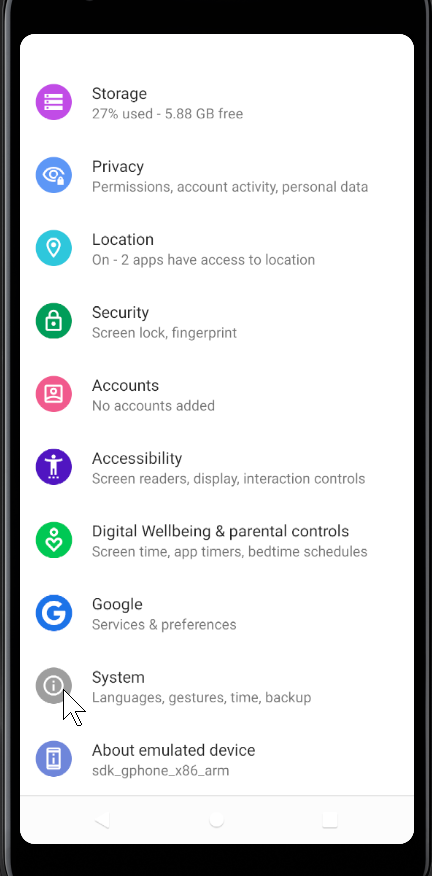
Click the settings icon.
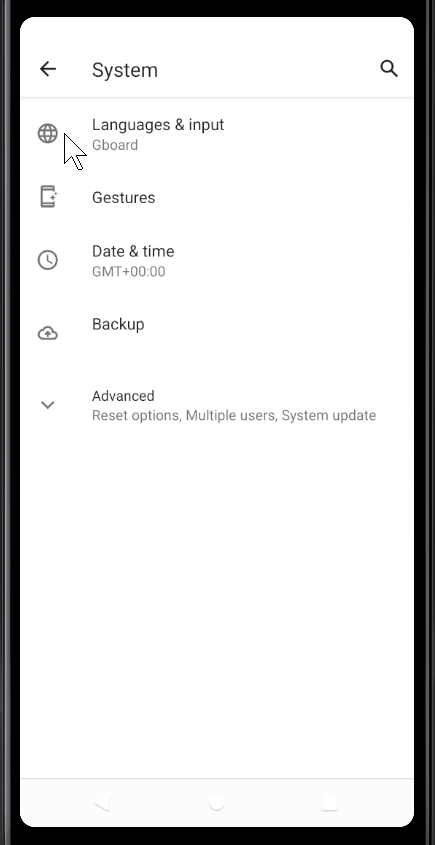
Click the system icon.
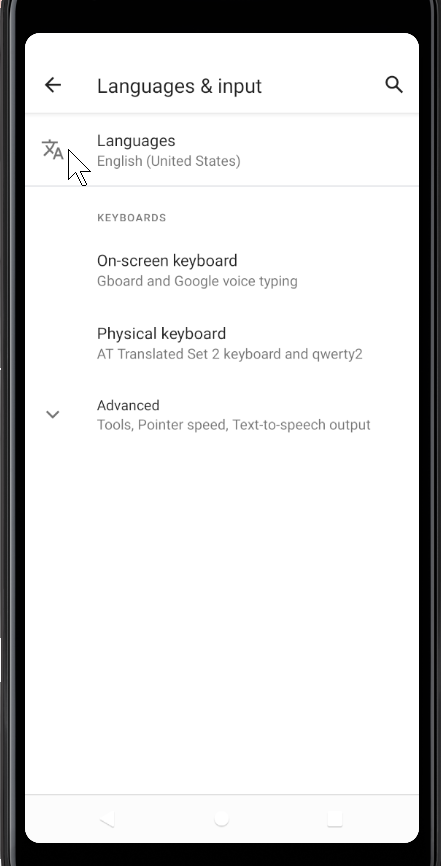
Languages …
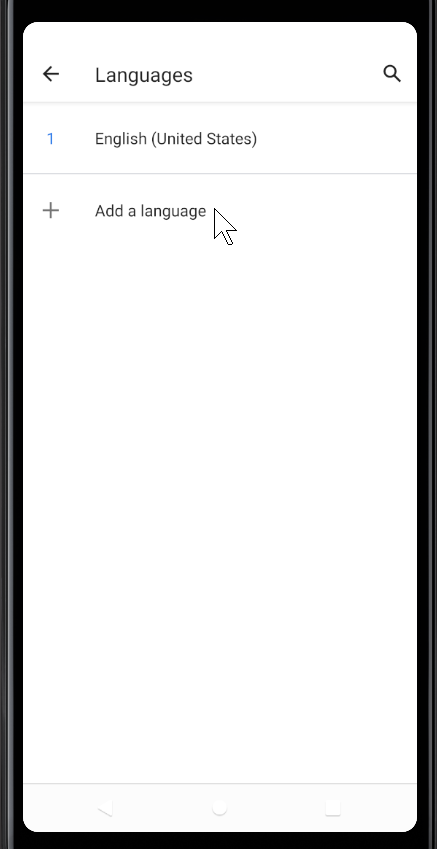
Then click the Add Language Settings icon.
The environment only has English settings, so add the language here.
Scroll the screen and select the Japanese language you want to add.
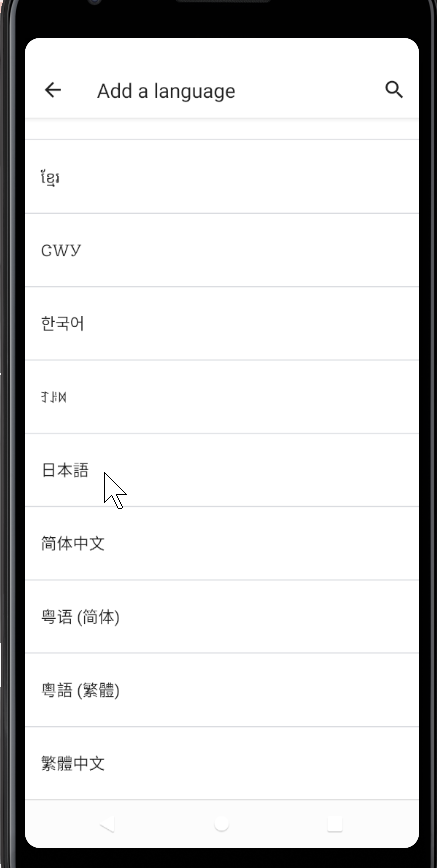
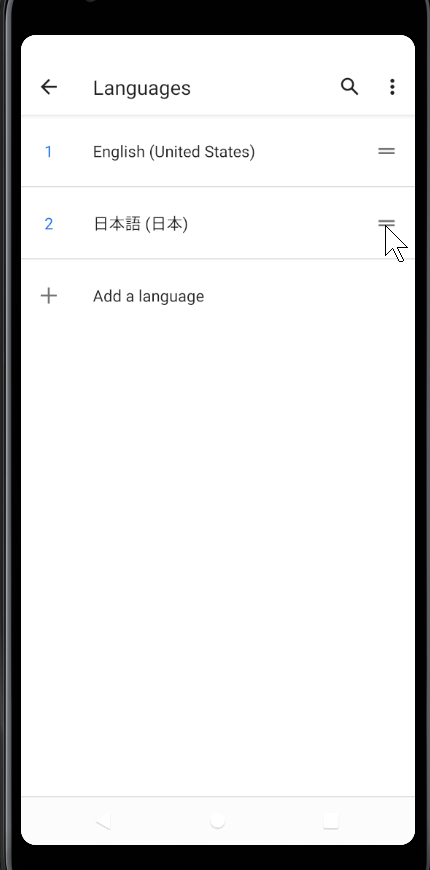
It is displayed in Japanese under English.
Place the cursor on the right icon part of the Japanese word and drag it upwards to move the Japanese word to the top.
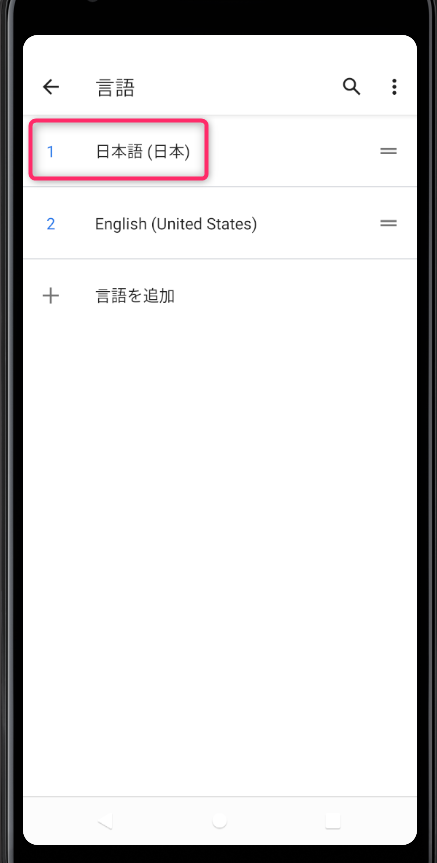
Make sure Japanese is placed at the top, as shown below.
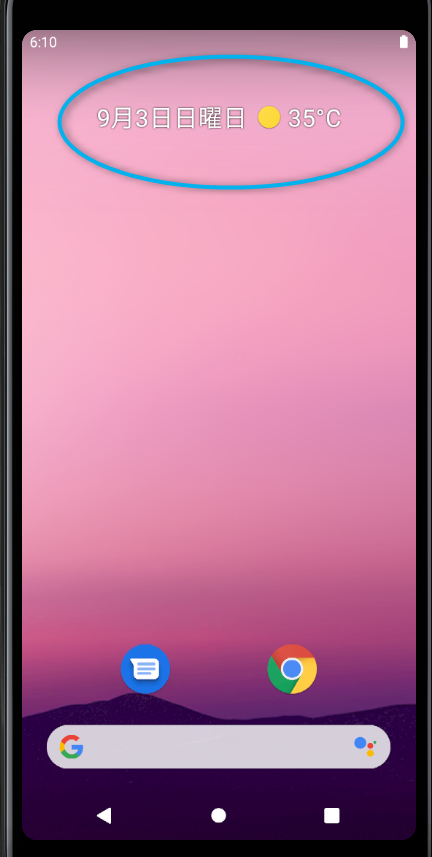
When you return to the home screen, you can check the Japanese environment.